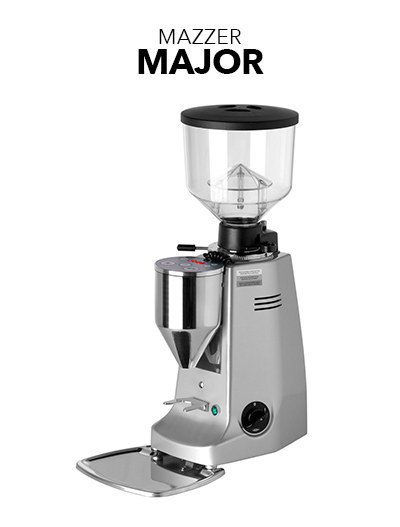
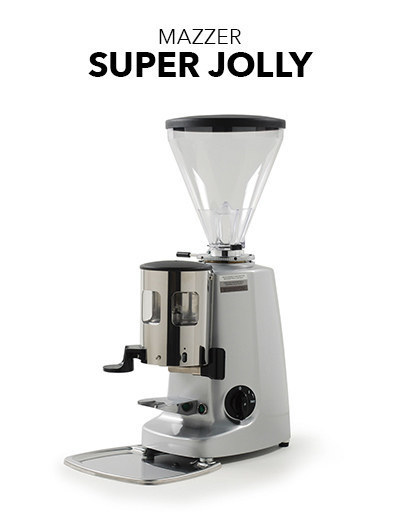
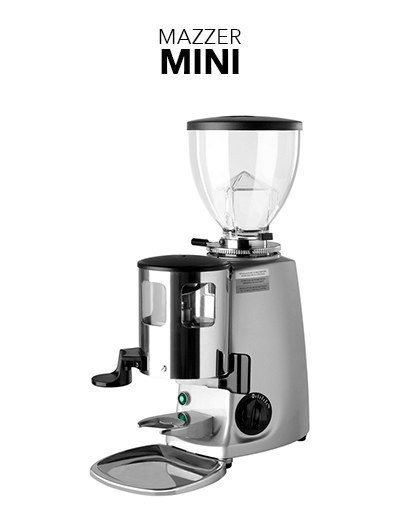
HOW TO REMOVE THE DOSER ON A MAZZER GRINDER?
Modifying your Mazzer to become a doserless grinder is more simple than you can imagine. The whole project can be done in 5 easy steps listed below. We also recommend cleaning your grinder with a vacuum before starting.
Tools you will need
- Straight Blade Screwdriver
- Phillips Screwdriver
- Small Adjustable Wrench
- Center Punch
- Drill
- Drill Bit
- Masking Tape
- Felt Tip Marker
- Vacuum
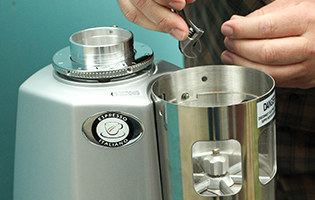
1. Remove Doser
Remove the lid of the doser. Using a wrench, unscrew the two top screws holding the doser in place. Once screws are removed the doser should come loose and be placed to the side.
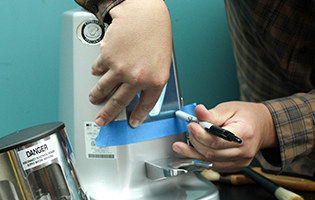
2. Install Motor Cover Backing Plate
Apply masking tape to upper grinder body. Hold the backing plate in the desired position and mark both the left and right bottom holes with Felt Marker. Remove the backing plate and carefully use a center punch to mark the holes. Measure your screw size and drill appropriate sized holes in marked spots. Vacuum up any metal shavings. Use included hardware to attach the motor cover to the grinder.
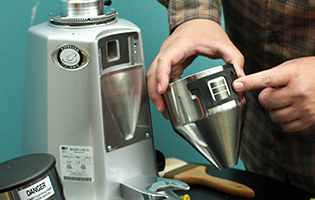
3. Install Anti Static Screen and Gasket
Remove backing from the adhesive side of the gasket. Center the screen with the orientation hole on the bottom left (print facing the gasket). Center the gasket/screen on the outside of the funnel and press firmly. The orientation hole should now be on the bottom left (facing the funnel)
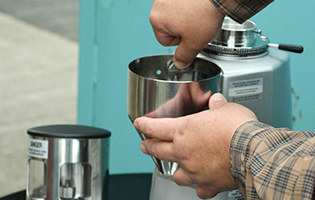
4. Install the Funnel
Use the original doser retainer screws to attach the funnel to the body of the grinder. Install finger guard using original screws. Place original lid on top of the funnel and begin grinding.
We’ve made it even easier. Below is a list of specific supplies you need based on the type of Mazzer grinder you have.


